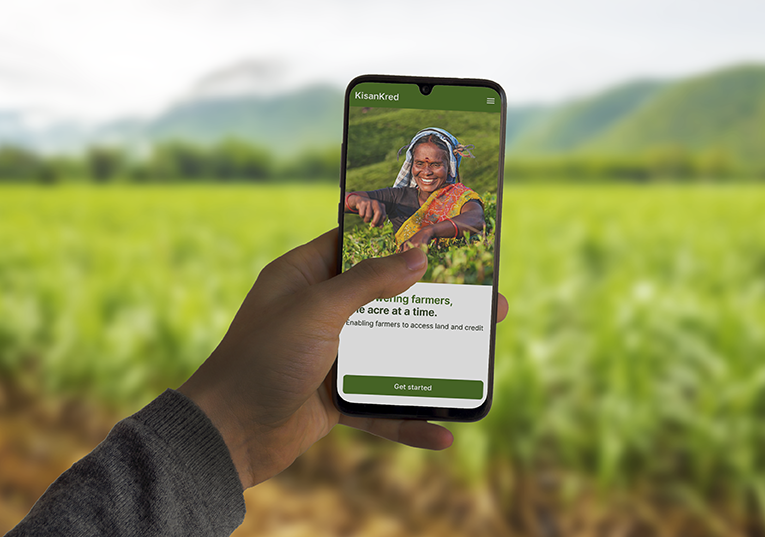
We’ve found through experience that sometimes, ideas or concepts that our designers are the most excited about, go unnoticed by our users and stakeholders. For us, this has made the case for prototyping early on even stronger, and it has become an indispensable part of the designer’s tool kit at BRND.
Prototyping is a tool which helps in communicating ideas and concepts in a relatively inexpensive and tangible way. It encourages a dialogue in which designers can align their goals with that of the users and stakeholders.
We’ve realised that young designers have a somewhat distorted interpretation of prototyping techniques. For instance, prototypes were often confused with sketches and mockups (the difference would be the ability to interact with a prototype). These gaps in understanding moved us to share our comprehension of an aspect of the process we deem important, the difference between high and low fidelity prototypes.
Note: We measure fidelity by the time and effort we put into a prototype. A Prototype can vary from being high to low-fidelity in terms of visuals, content, interaction, command, or idea. It helps to think of fidelity in terms of a spectrum from high to low, instead of two binary extremes.
Low Fidelity
Low fidelity prototypes are intentionally low effort with a sharp focus on communicating the concept or an idea through as little as possible, rather than focusing on visuals and overall experience of the product.
Suggested Tools
Pen and paper, Miro (or any other Online whiteboard with similar capabilities), Powerpoint, Keynote, Google Slides, Adobe XD.
👍🏼 Pros
- Making changes to the prototype as you build it is a lot easier, so it allows for more real-time collaborative prototyping for teams.
- Since visual achieving finesse is (usually) not the goal, non-designers can also participate, without any fear of judgement.
- It leaves plenty room for experimentation and changing decisions frequently, without any attachment to a particular idea.
- It’s Quick, messy and cheap.
- It helps streamline the focus on ideas and flows rather than visuals.
- During testing, the participant is not distracted by visual cues. It is easier to direct their attention and extract relevant feedback
- Testing participants get the perception of being able to change things easily and hence they would be more open to share critical feedback.
- Low fidelity prototypes encourage rapid re-iteration.
👎🏼 Cons
- Test participants might not be used to seeing such low fi work and might judge the book by its cover. This might affect their feedback.
- Clear communication within an internal team and to the test participants becomes crucial. You Might need to set content or add text to support your prototype.
- Possible interactions within the prototype are limited.
⚙️ Techniques
- Wizard of Oz — Operator behind the curtain — digital or physical
- Paper Prototyping
- Digital Screens
💡 Tips for low-fi Prototyping
- Refrain from using wireframing kits, these may end up making your prototype look like a higher fidelity product.
- Do not fixate on visual details like color, typography, grid systems. Visual consistency is secondary
- Keeping things black and white or monochromatic helps.
- Try and use a single font with no more than 2 weights.
- Using sharp corners, thick borders and breaking grids are some of the ways to make prototypes look low fidelity
- Put constraints on yourself by using tools with limited functionality. Like Miro, Slides, ppt or pen and paper.
High Fidelity
High Fidelity prototypes are meant to closely resemble the finished product in order to extract more accurate feedback about the entire product experience.
Tools: Adobe XD, Figma, Illustrator, Sketch, wireframe kits
👍🏼 Pros
- Enables collecting feedback on overall product experience, interactions, visuals, microinteractions etc.
- Feedback is more realistic.
- It is easier to communicate the prototypes to stakeholders and test participants.
- Easier to measure performance accurately and track metrics with higher confidence.
- Helps in project timeline planning for development, assessing resource quantity and allocation.
- Since these are often clickable or code, they enable designers to observe rather than focus on operating the prototype or guiding the test participant.
👎🏼 Cons
- Test participants might hold back honest critical feedback so as to not offend testers/designers.
- It takes more time and effort.
- It is more expensive.
- Can get caught up in things that might not have a direct impact on hypothesis to be tested.
- It is easier to ‘fall in love’ with a concept and be resistant to iteration.
Conclusion
With designers’ tool kits becoming more and more robust with each passing day, we hope these insights on the difference between high and low fidelity prototypes help you undertake the exercise with more confidence.


